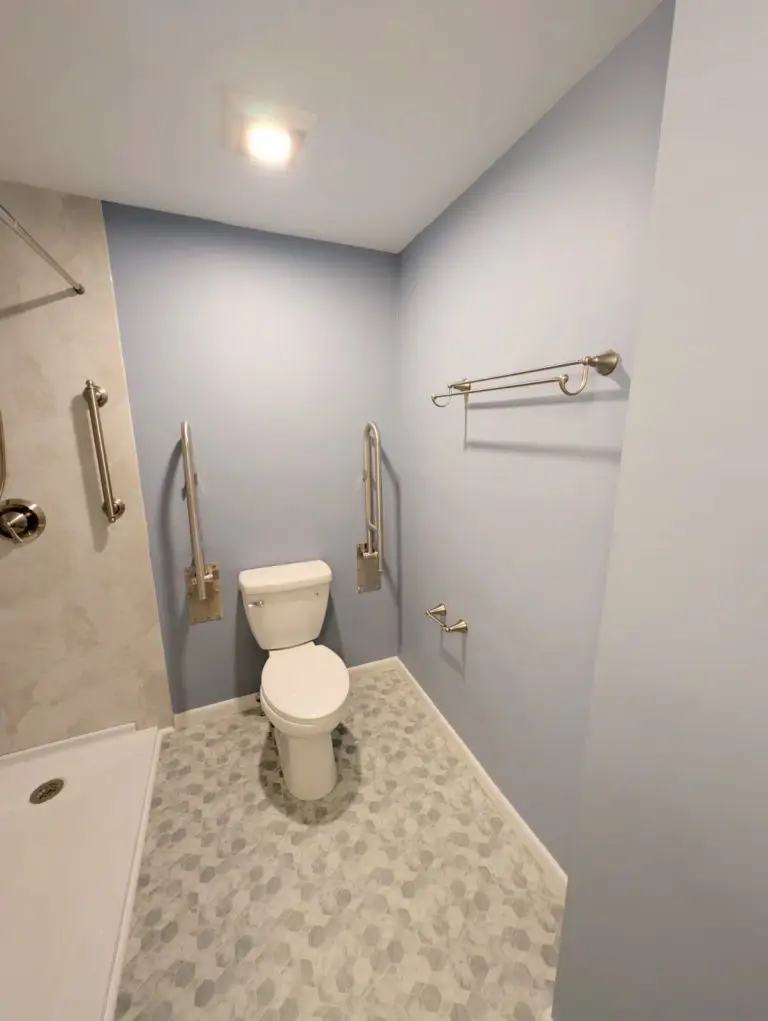
Mess-Free One-Day Bathroom Remodel

The thought of a bathroom remodel often brings one image to mind: a fine layer of dust coating every single thing you own! Yikes!
For weeks, you might picture yourself navigating plastic-draped hallways, feeling that living in your house during the project is more stressful than the remodel itself. According to home improvement experts, this fear of disruption is the top reason homeowners delay upgrading a dated or failing bathroom.
BUT that dusty nightmare is based on an outdated way of working, and a messy renovation is now an unresearched choice, not a necessity. Smart planning and modern materials make a mess-free bathroom remodel possible, letting you keep your house clean and enjoy your new space without the chaos.
Summary
A mess-free bathroom remodel is achievable by pairing smart material choices (like shower wall panels, LVT, and prefabricated stalls) with clean deconstruction methods that minimize dust. Pros rely on a containment “bubble” using sealed barriers, HEPA air scrubbers, and negative air pressure to prevent dust from spreading. Finish with organized debris removal and a top-to-bottom clean—plus a fresh HVAC filter—to keep your home spotless. Come prepared to ask contractors about grout-free options, dust control plans, and daily debris handling.
How Smart Material Choices Eliminate Most Remodel Messes
The real secret to a cleaner remodel lies in your material choices: just like the difference between deep frying and baking. While professional crews are skilled at containing dust, selecting the right materials from the start can prevent most of that mess from ever being created. You can design a beautiful new bathroom that requires less demolition, cutting, and fewer messes.
For the shower, the biggest game-changer is moving away from traditional tile to something more durable and faster to install. Consider using shower wall panels—large, stylish sheets of waterproof material that cover a wall in one piece. Unlike tile, which requires cutting hundreds of pieces and applying messy grout, these panels go up quickly and eliminate two major sources of dust and grime.
Your flooring choice is another opportunity to skip the mess. Tearing out old ceramic floor tile is a loud, dirty, and labor-intensive job. A fantastic alternative is Luxury Vinyl Tile (LVT), a durable and waterproof material that can often be installed directly over your existing, level floor. This is one of the most effective dustless demolition techniques available, saving you from days of chaos. Even if you do demolish the old floor, the LVT and LVP will install fast and mess-free.
Finally, the debate over a prefabricated shower stall vs. custom tile often boils down to time and cleanliness. A panel shower can be installed in hours, while a custom tile shower involves days of waterproofing, tiling, and grouting. Of course, you still need to remove the old tub or shower. So, what is the cleanest way to remove old bathroom fixtures?

What Is the Cleanest Way to Remove Old Bathroom Fixtures?
When you picture demolition, a sledgehammer probably comes to mind: that’s overly dramatic and for HGTV purposes only. True professionals know that brute force creates the biggest mess and for that reason they won’t do it. Pros prefer deconstruction: methodically taking the bathroom apart in the reverse order it was built. This surgical approach is the foundation of a clean removal, focusing on salvaging large, intact pieces instead of creating a mountain of dusty rubble.
This method works wonders on walls. Instead of ripping out old drywall, a pro will first score it with a utility knife, cutting a clean line around the area being removed. This simple trick allows the drywall to break away in large, manageable sheets rather than crumbling into a cloud of fine dust.
The same principle applies to tile. Rather than pulverizing it, the deconstruction method involves using a pry bar to carefully pop whole tiles or sections off the wall. While it takes more finesse, this technique keeps debris in larger, easy-to-sweep-up chunks. Even with these clean techniques, some dust is inevitable, which is why professionals rely on one more powerful strategy.
How Contractors Keep a House Clean: The “Containment Bubble” Strategy
Even with the cleanest deconstruction methods, some fine dust is unavoidable. To stop this dust from escaping the bathroom, professionals create a Dust Containment System—a protective bubble around the work zone. This usually involves sealing the bathroom doorway with a plastic barrier, often with a zipper for entry, which physically stops debris from getting out.
Inside this sealed room, the most critical tool is a HEPA Air Scrubber. This high-powered air purifier, designed for construction sites, constantly sucks in air, captures microscopic dust in its filter, and circulates clean air back out. It’s the most effective weapon against the fine, powdery dust that gets everywhere. You might also see a shopvac being used to suck up messes as they go. It works like a vaccum on steroids!
To make the system foolproof, contractors use the air scrubber to create Negative Air Pressure . By venting the scrubber’s exhaust hose outside a window, it pulls more air out of the room than is coming in. This ensures that air from the rest of your house gently flows into the bathroom, but no dust-filled air can flow out.
This three-part strategy—sealing the room, filtering the air, and controlling airflow—is how professionals can perform a major demolition while keeping your home livable and dust-free.

Your Final Step: Smart Debris Removal and the Post-Renovation Cleaning Checklist
Once the old fixtures are out, you need a clean way to get rid of them. Instead of a messy pile of debris in your driveway, consider a disposable dumpster bag. These heavy-duty bags, available at home improvement stores, contain all your renovation waste in one tidy package. You fill it up and schedule a convenient curbside pickup, keeping the project’s final stage organized.
Even with professional dust control, a final deep clean is essential. For the best results, wait a day for any lingering dust to settle, then follow this top-to-bottom method:
- Start High: Use a vacuum with a brush attachment to clean dust from ceilings and walls.
- Wipe Down: With a damp cloth, wipe down all remaining surfaces like trim, fixtures, and cabinets.
- Finish Low: Mop or vacuum the floor last to capture everything that has fallen.
Finally, perform the single most important post-renovation cleaning task: change your home’s central HVAC or furnace filter. This filter will have trapped a surprising amount of construction dust, and swapping it for a fresh one guarantees you’ll be breathing clean air throughout your house.
Enjoy Your New Bathroom Without the Messy Memories
The chaos of a typical remodel is no longer a given. A truly mess-free bathroom remodel hinges on three pillars: smarter material choices, cleaner deconstruction methods, and active dust containment.
Walk into any contractor meeting prepared to ensure a clean renovation by asking these key questions:
- What grout-free and low-demolition material options can you show me?
- What is your specific plan for dust containment, including HEPA air scrubbing?
- How will debris be contained and removed from my property daily?
A beautiful new bathroom doesn’t have to come with a legacy of dust. Asking how contractors keep a house clean with this level of detail changes the dynamic—you are no longer just hoping for a tidy outcome, you are ensuring it.
Q&A Section: Mess-Free Bathroom Remodeling
Q1: How can I ensure my bathroom remodel stays mess-free?
A: To ensure a mess-free remodel, choose modern materials like shower wall panels and Luxury Vinyl Tile (LVT), which minimize demolition. Additionally, work with contractors who use dust control methods such as containment barriers and HEPA air scrubbers.
Q2: What types of materials should I avoid to minimize mess during a remodel?
A: Avoid traditional ceramic tiles and complex installations that require extensive cutting and grouting, as these can create significant dust and debris. Opt for prefabricated units and seamless wall panels instead.
Q3: How long does a mess-free bathroom remodel take?
A: While the duration depends on the complexity of the remodel, many mess-free options can be installed within a day. Always consult your contractor for a specific timeline based on your project.
Q4: Is it possible to live in my home during a bathroom remodel?
A: Yes, if the contractors implement a proper dust containment system and work efficiently. Discuss your concerns with them to ensure you can maintain a livable space during the project.
Q5: What should I do after the remodel to ensure my home is clean?
A: After completion, perform a thorough clean by starting from high surfaces down to the floor, and remember to replace your HVAC filter to ensure clean air circulation throughout your home.