A broken door frame can be a frustrating problem, but you don’t need to call a professional to fix it. With some basic tools and a bit of know-how, you can repair your door frame yourself. You can fix most door frame issues by removing damaged sections, replacing them with new wood, and refinishing the repaired area.
There are several ways to repair a door frame depending on the type and extent of the damage. For small cracks or splits, wood glue and clamps might be enough to solve the problem. Larger damaged areas may require cutting out the broken section and fitting a new piece of wood. In some cases, you might need to replace the entire frame.
Before starting any repairs, it’s important to identify the cause of the damage. This could be anything from normal wear and tear to moisture problems or even termites. Fixing the underlying issue will help prevent future damage to your newly repaired door frame.
Assessing the Damage
Before fixing a broken door frame, you need to figure out what’s wrong. This helps you plan the repair and get the right tools and materials.

Identifying the Damaged Areas
Look closely at your door frame. Check for cracks, splits, or loose parts. Pay attention to the spots where the frame meets the wall and floor. These areas often get damaged first.
Feel the wood for soft spots. This could mean rot. Look for paint that’s bubbling or peeling. These are signs of water damage.
Check if the door still fits well in the frame. If it doesn’t, the frame might be warped or out of shape.
Differentiating Between Cosmetic and Structural Damage
Cosmetic damage looks bad but doesn’t affect how the door works. This includes small dents, scratches, or chips in the paint.
Structural damage is more serious. It can make your door hard to open or close. Look for big cracks, gaps where the frame meets the wall, or parts of the frame that are pulling away.
If your door won’t latch properly, check the strike plate area. Sometimes this part gets damaged and needs fixing.
Recognizing Signs of Wood Rot and Moisture Infiltration
Wood rot is a big problem for door frames. It makes the wood soft and weak. Press on different parts of the frame with a screwdriver. If it sinks in easily, you might have rot.
Look for dark spots or discoloration on the wood. This can mean water damage. Check the bottom of the frame where it touches the floor. This area often gets wet and can rot.
Smell the frame. A musty odor might mean there’s mold from moisture. If you see fuzzy spots on the wood, that’s mold growing.
Preparation for Repair
Getting ready to fix a door frame involves a few key steps. You’ll need the right tools, a clear workspace, and proper removal of the door itself.

Gathering Necessary Tools and Materials
Start by collecting all the items you’ll need. Grab a screwdriver, hammer, and pry bar for removing parts. You’ll also want a drill for any new holes. Don’t forget a mallet for gentle tapping.
For filling and finishing, get wood filler, sandpaper, and paint that matches your door frame. A level will help ensure everything is straight.
Make sure you have safety gear too. Gloves and safety glasses protect your hands and eyes.
Removing the Door and Hardware
Take the door off its hinges. Use your screwdriver to remove the hinge pins. Lift the door out carefully – it might be heavy, so ask for help if needed.
Remove any remaining hardware from the frame. This includes the strike plate and any weatherstripping.
Set all these parts aside in a safe place. You’ll need them again when you’re done with repairs.
Clearing and Preparing the Work Area
Clear the space around the door frame. Move furniture and rugs out of the way. This gives you room to work and keeps your stuff clean.
Lay down a drop cloth to catch dust and debris. Open windows for good air flow, especially if you’re using paint or wood filler.
Clean the door frame thoroughly. Wipe away dirt and grime. Sand any rough spots. This helps new materials stick better.
Check the frame for any hidden damage. Look for cracks or soft spots that might need extra attention.
Executing the Repair
Fixing a door frame involves a few key steps depending on the type and extent of damage. The right tools and techniques can restore your door frame’s function and appearance.
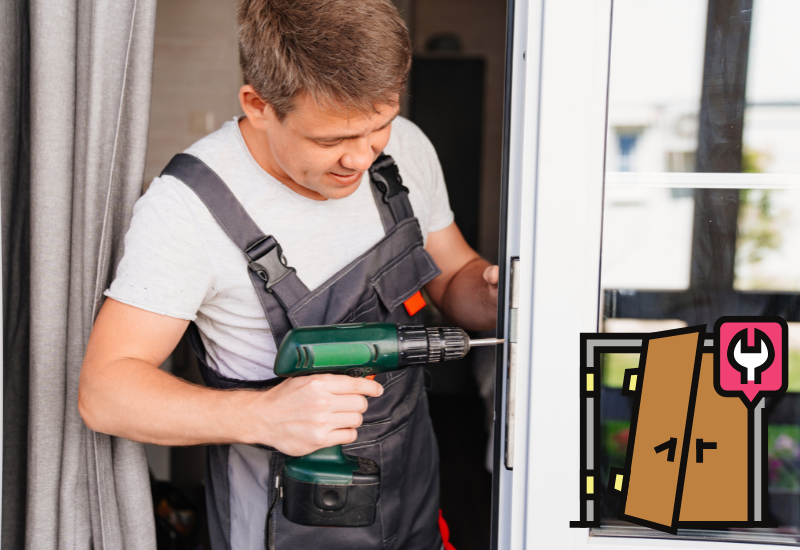
Repairing Surface-level Cracks and Dents
Start by cleaning the damaged area with a damp cloth. For small dents, use wood filler to fill in the gaps. Apply it with a putty knife, let it dry, then sand it smooth. For cracks, widen them slightly with a chisel to create space for wood glue.
Inject glue into the crack, then clamp it shut. Wipe away excess glue. Once dry, sand the area. For larger cracks, use wood filler after the glue dries.
Paint or stain the repaired spot to match the rest of the frame.
Replacing or Fixing Damaged Jambs and Trims
Remove the door from its hinges. Take off any trim pieces around the damaged jamb. Use a reciprocating saw to cut out the bad section of jamb.
Cut a new piece of wood to fit the gap. Secure it with wood glue and screws. Use shims to ensure it’s level and plumb.
For extensive damage, you might need to replace the entire jamb. Remove the old one carefully. Install the new jamb, using shims to keep it straight.
Reattach the trim and rehang the door. Adjust as needed for a proper fit.
Addressing Structural Damage and Stability
For rot, remove all soft wood with a chisel. Clean the area thoroughly. Mix epoxy wood filler or Bondo body filler according to instructions.
Apply the filler to rebuild the damaged area. Let it cure fully. Sand it smooth to match the surrounding wood.
For severe structural issues, you may need to reinforce the frame. Cut a piece of plywood to fit behind the damaged area. Secure it with screws and construction adhesive.
In extreme cases, install a wire mesh over the damaged spot before applying wood filler. This adds strength to the repair.
Reinforcement and Finishing
Reinforcing and finishing your repaired door frame ensures long-lasting stability and a polished look. These steps help create a secure, level frame that blends seamlessly with your home’s decor.

Ensuring the Door Frame is Level and Plumb
Check the frame’s alignment using a level. Place it vertically on both sides and horizontally across the top. Adjust as needed. Use shims to fill gaps between the frame and rough opening. Cut shims flush with the frame edge.
If the frame is not plumb, loosen screws and gently tap it into position. Retighten screws once level. For stubborn frames, you may need to remove trim and adjust the entire unit.
Test the door’s operation. It should open and close smoothly without sticking. If issues persist, double-check your measurements and adjustments.
Securing Reinforced Areas
Replace short screws with 3-inch screws in the hinges and strike plate. This anchors the frame more securely to the wall studs. Pre-drill holes to prevent wood splitting.
Add a door reinforcement kit for extra strength. These kits typically include a metal plate that wraps around the frame at the lock area. Install according to manufacturer instructions.
For hollow metal frames, use a frame repair kit. These fill voids with epoxy or metal inserts, restoring structural integrity. Follow kit directions carefully for best results.
Applying Final Touches and Finishes
Sand repaired areas smooth. Use progressively finer grits for a polished surface. Wipe away dust with a tack cloth.
Apply wood filler to any remaining gaps or imperfections. Let dry and sand again. Prime bare wood to ensure even paint absorption.
Paint or stain the frame to match your decor. Use a brush for detailed areas and a small roller for larger surfaces. Apply thin, even coats for best coverage.
Reattach or replace the door stop if removed. Install new decorative trim or molding if desired. Caulk gaps between the frame and wall for a finished look.
Reinstallation and Maintenance Tips
Proper reinstallation and regular maintenance are key to a long-lasting door frame repair. These steps ensure your door functions smoothly and stays in good condition.

Reattaching Door Hardware and Trims
Start by reattaching the hinges to the door frame. Use a level to make sure they’re straight. Insert shims behind the hinges if needed for a snug fit. Screw the hinges in place, using pilot holes to prevent wood splitting.
Next, install the door knob and latch. Align the strike plate with the latch for smooth operation. Adjust its position if necessary.
Reattach any trim pieces you removed earlier. Apply wood putty to fill nail holes and sand smooth once dry. Paint or stain to match the frame.
Ensuring Proper Door Alignment
Check that the door hangs straight in the frame. Open and close it to test for smooth movement. If it sticks or rubs, you may need to adjust the hinges.
Use sandpaper to sand down areas where the door catches. Be careful not to remove too much material.
If the door doesn’t close properly, check the alignment of the latch and strike plate. Adjust as needed for a secure fit.
Providing Care and Maintenance Advice
Clean your door frame regularly with a damp cloth to remove dust and dirt. This prevents buildup that can damage the finish.
Inspect the frame yearly for signs of wear, loose screws, or damage. Tighten any loose hardware promptly.
Apply a fresh coat of paint or sealant every few years to protect the wood from moisture and wear.
Lubricate hinges and the latch mechanism annually with a silicone-based lubricant to keep them working smoothly.
Avoid slamming the door, as this can damage the frame over time. Use doorstops to protect walls when the door is fully open.